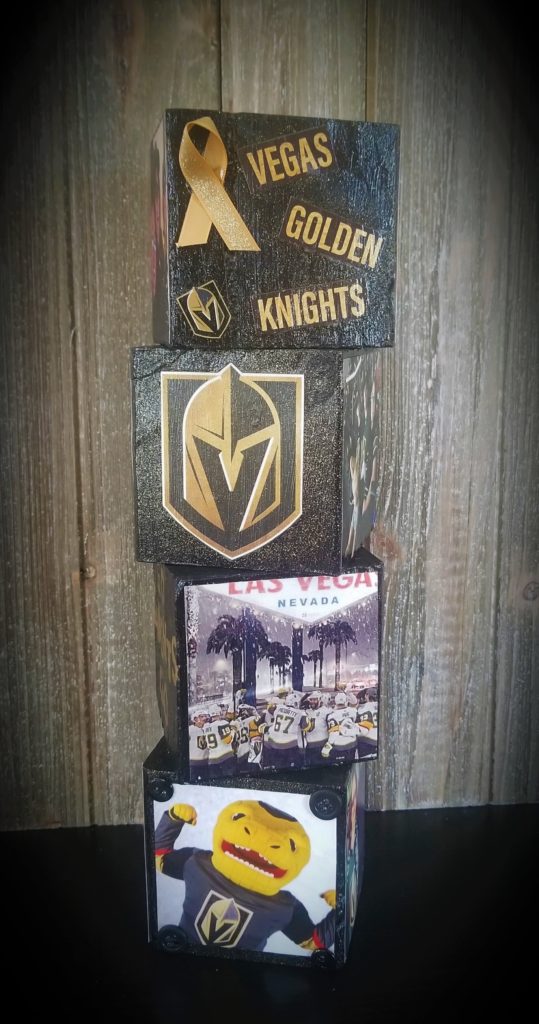
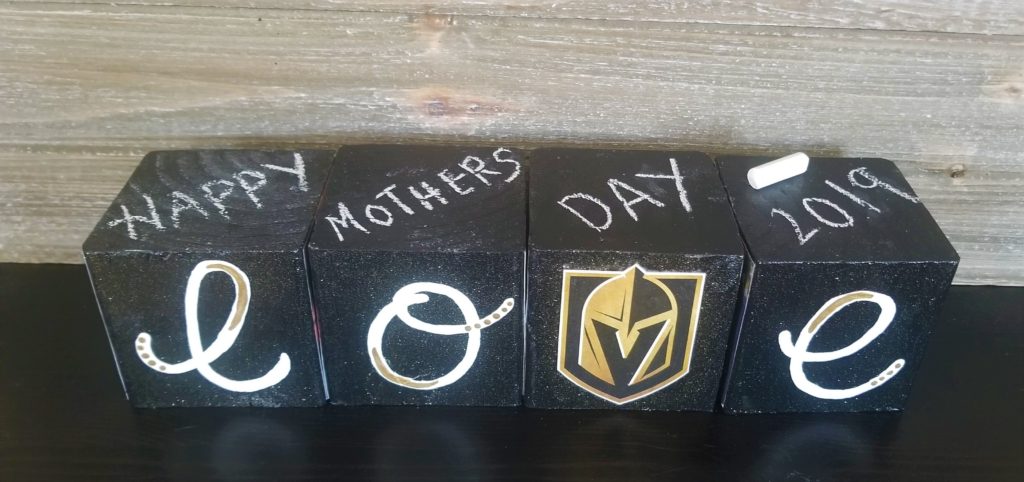
For Mother’s Day this year, I made these cute wooden blocks for my mother-in-law, who is a huge Vegas Golden Knights fan. But these blocks are so versatile, they can be used for any number of reasons! Feel free to change up the design to make them your own.
Table of Contents
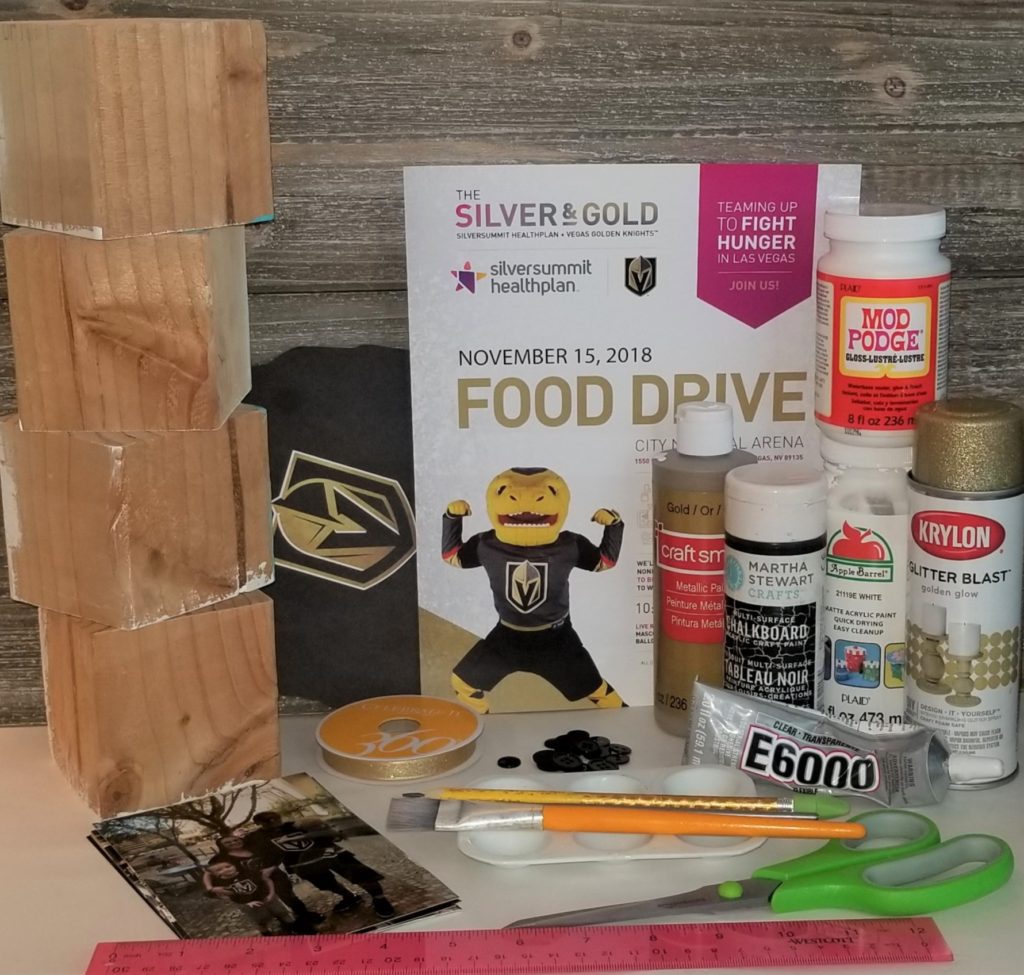
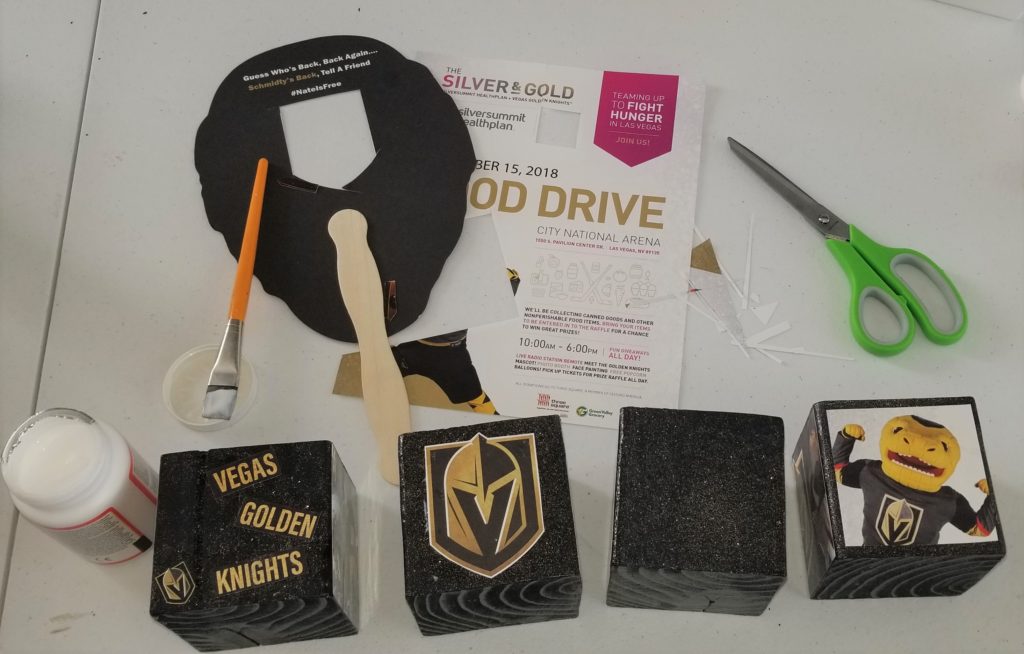
List of Supplies:
4 – 3 ½ X 3 ½ Square Wood Square Cubes (3 in. cubes at Michael’s)
8 Printed Family Pictures
Chalkboard Paint
White and Gold Acrylic Paint
Gold Glitter Spray
Mod Podge – Gloss
VGK Material – I used a poster I had: Schmidt Head Paddle
Black and Gold Accents – I used black buttons and gold ribbon
E6000 Permanent Glue
Craft Supplies – ruler, scissors, paint brushed, pencil/marker, paint tray
All supplies can be found at Walmart or your local craft store.
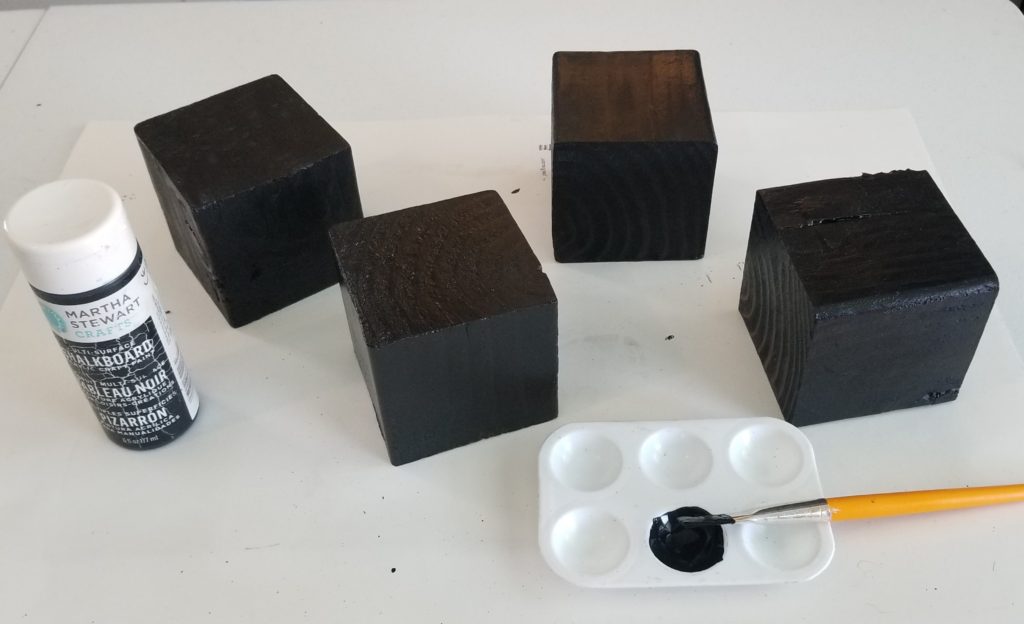
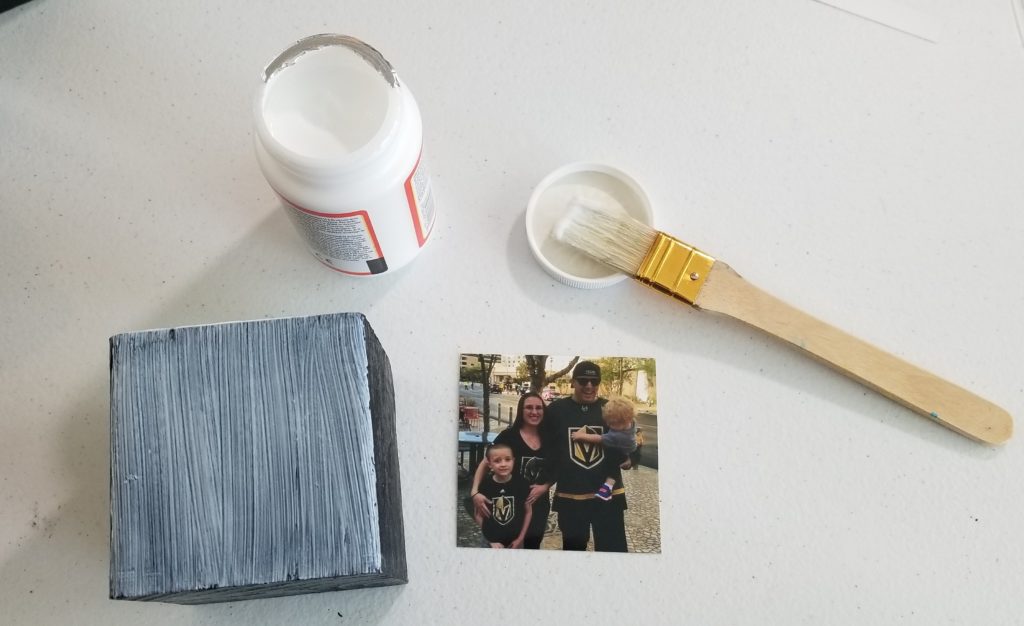
Step One: Paint Your Cubes
I had wood cubes on hand from another project I never got around to finishing. I was going to make painted wood cubes for my younger sons’ bedroom, with the colors of his room and his name painted on them, but it turned into one of those projects you put up on the shelf. My husband and I bought a large post from Home Depot and he cut/sanded the column down to make 3 ½ x 3 ½ in. cubes. Later I found out that Michaels sells 3 in. wood cubes already to go ????.
Your first step is to paint all 4 of your wood cubes with the black chalkboard paint. I decided to use chalkboard paint because you could create your own message on one side of the cubes. (If you prefer you can use black acrylic paint instead.) I added two coats of paint to each side of the cube.

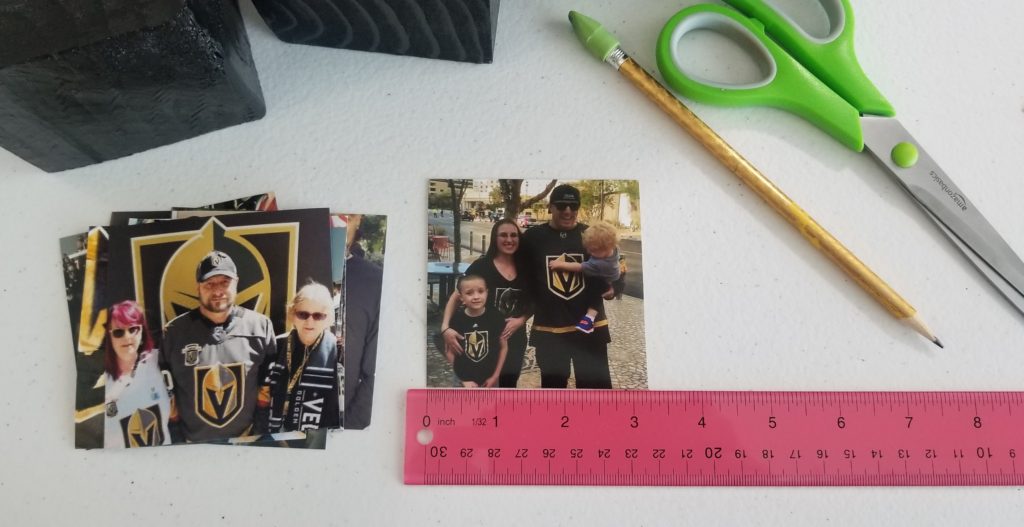
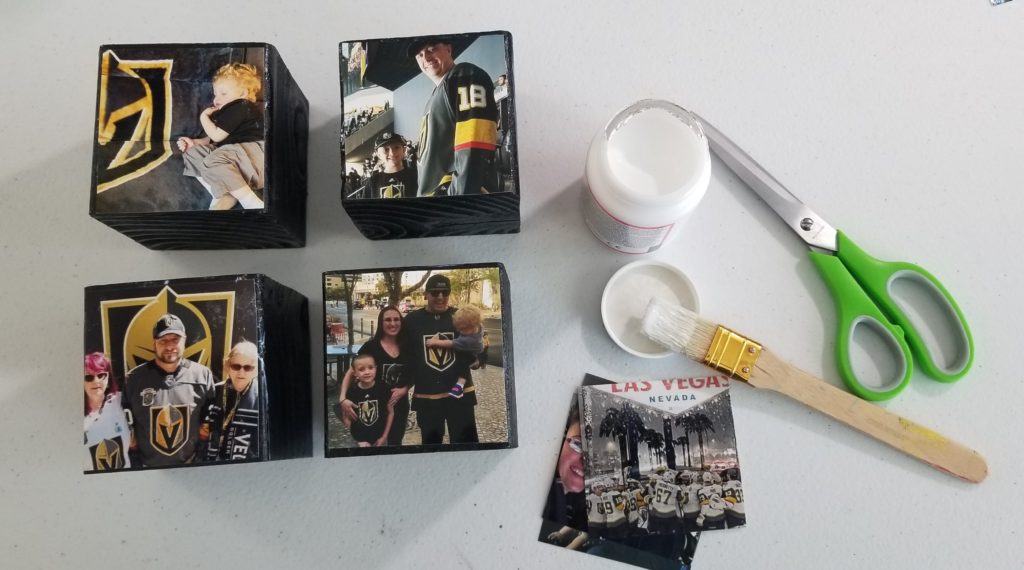
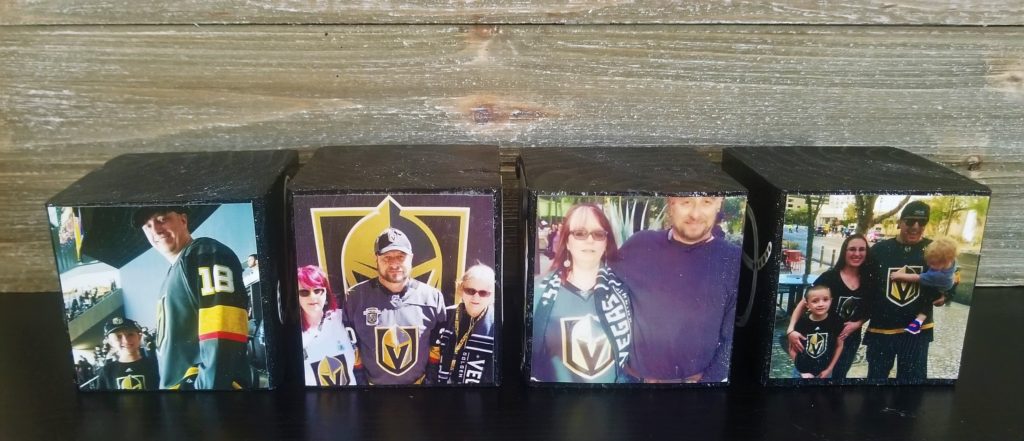
Step Two: Add Photos
Tip: I always print one or two extra photos when I am doing projects like this, in case you mess one up or the resolution isn’t what you were expecting. You will want to cut your photos down so they fit on your cube. I like to leave ¼ in. of space from the edge of the cube to the edge of the picture. This way the edge of the picture is less likely to get caught or lifted.
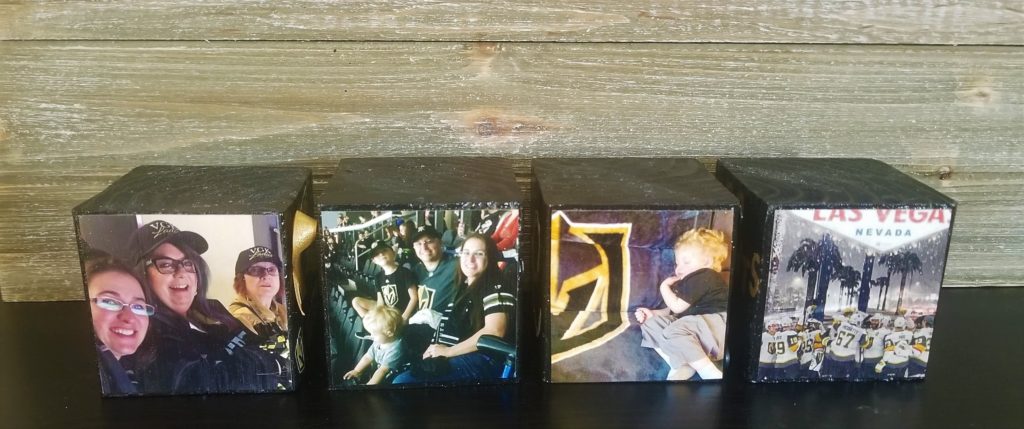
Use your paint brush and add a layer of mod podge onto one side of a cube. Place your picture in the center, press down all over the picture until it is secure and no sides are lifted.
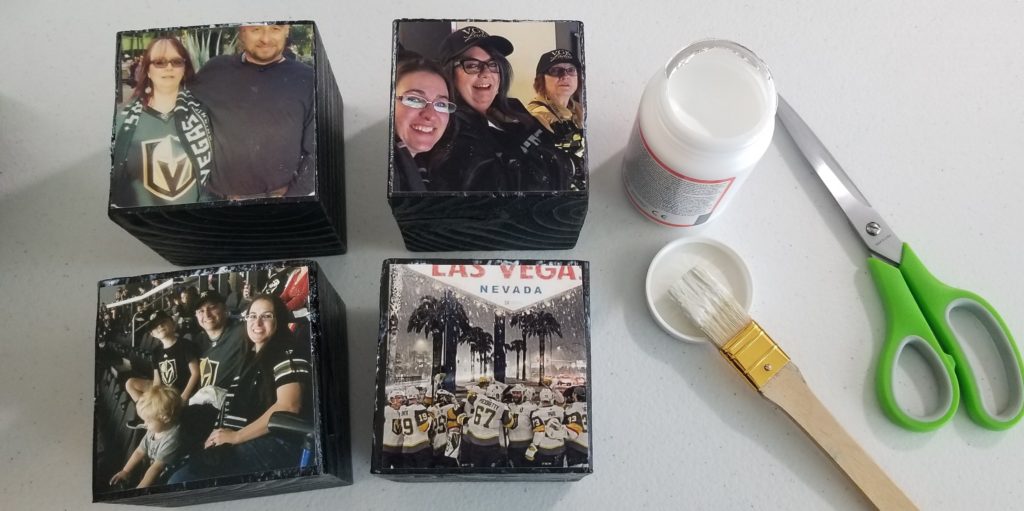
You will repeat this process on the remaining 3 cubes. Once your pictures are secure and dry, you will flip them over and do the same process on the back of the cubes.
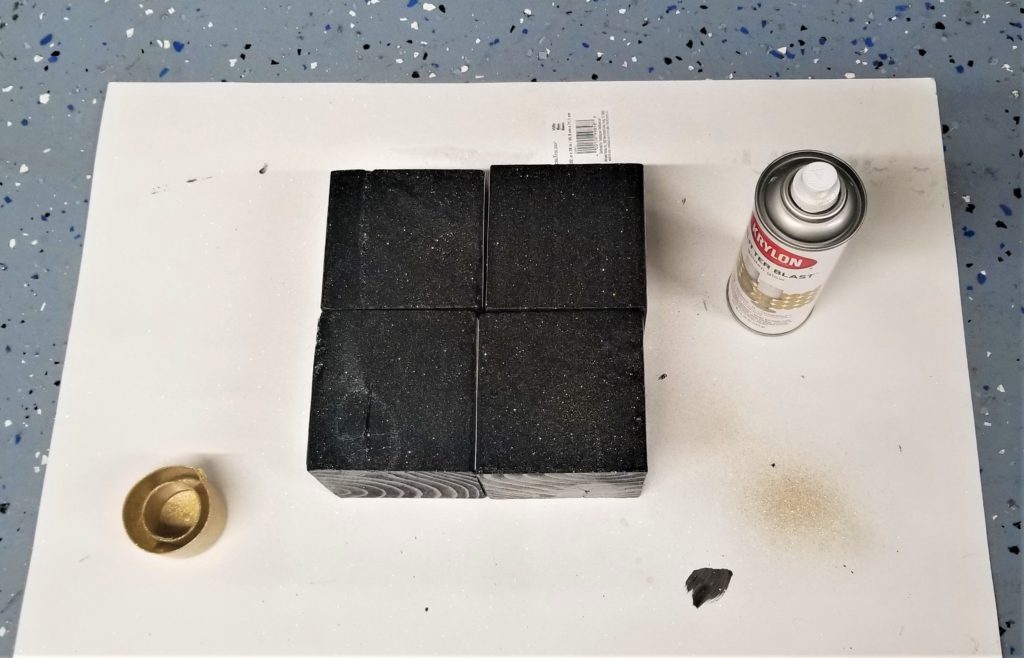
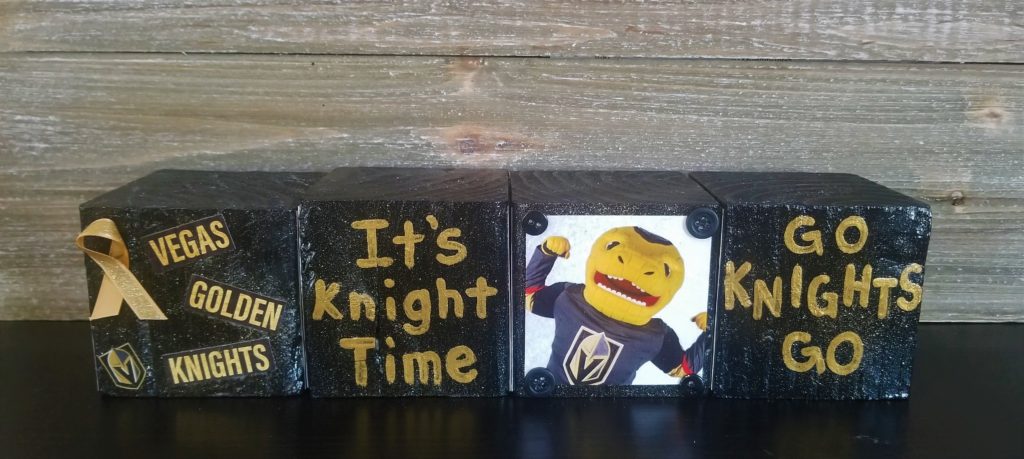
Step Three: Decorating VGK
I pulled out any VGK related item I thought might work with this project. I added a light mist of glitter gold spray to my remaining two sides. You will have to let them air out (mine were in the garage).
Then I cut some posters I had and secured the images down with the mod podge (same process as the pictures).
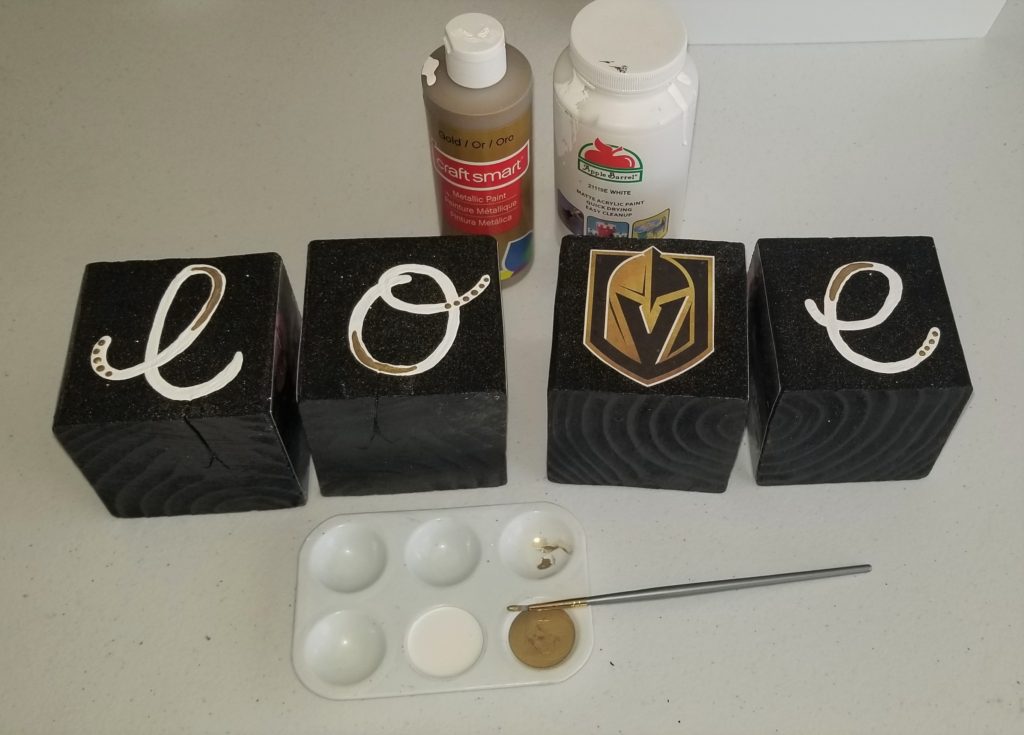
I used my gold and white paint to add l, o, and e. I used the VGK helmet as the v. (This makes up the 3rd side of the cubes)
Then I painted GO KNIGHTS GO and It’s Knight Time. (This makes up the 4th side of the cubes)

Step Four: Finalizing
To finish the cubes, take your paint brush and add a thin layer of mod podge on all sides of your cubes.
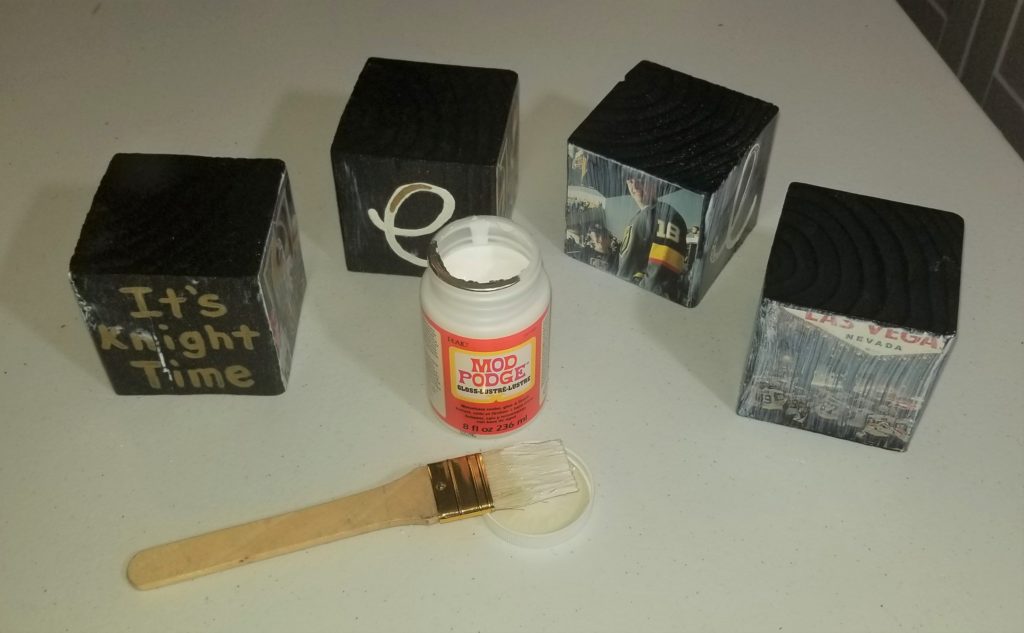
Don’t add mod podge to the top or the bottom of the blocks. This way you can use the top to write a message with chalk, and the bottoms won’t stick to each other if you decide to stack them up.
Once your mod podge has dried, you can add any buttons, gems, or ribbon you have. Use your E6000 to permanently glue them down. Let your project dry overnight. Tip: When you go to wrap your Mother’s Day gift, use wax paper first and then tissue paper. This way the tissue paper won’t stick to your blocks.
Happy Mother’s Day!!
One thought on “Vegas Golden Knights Themed Wooden Photo Blocks”
Comments are closed.